


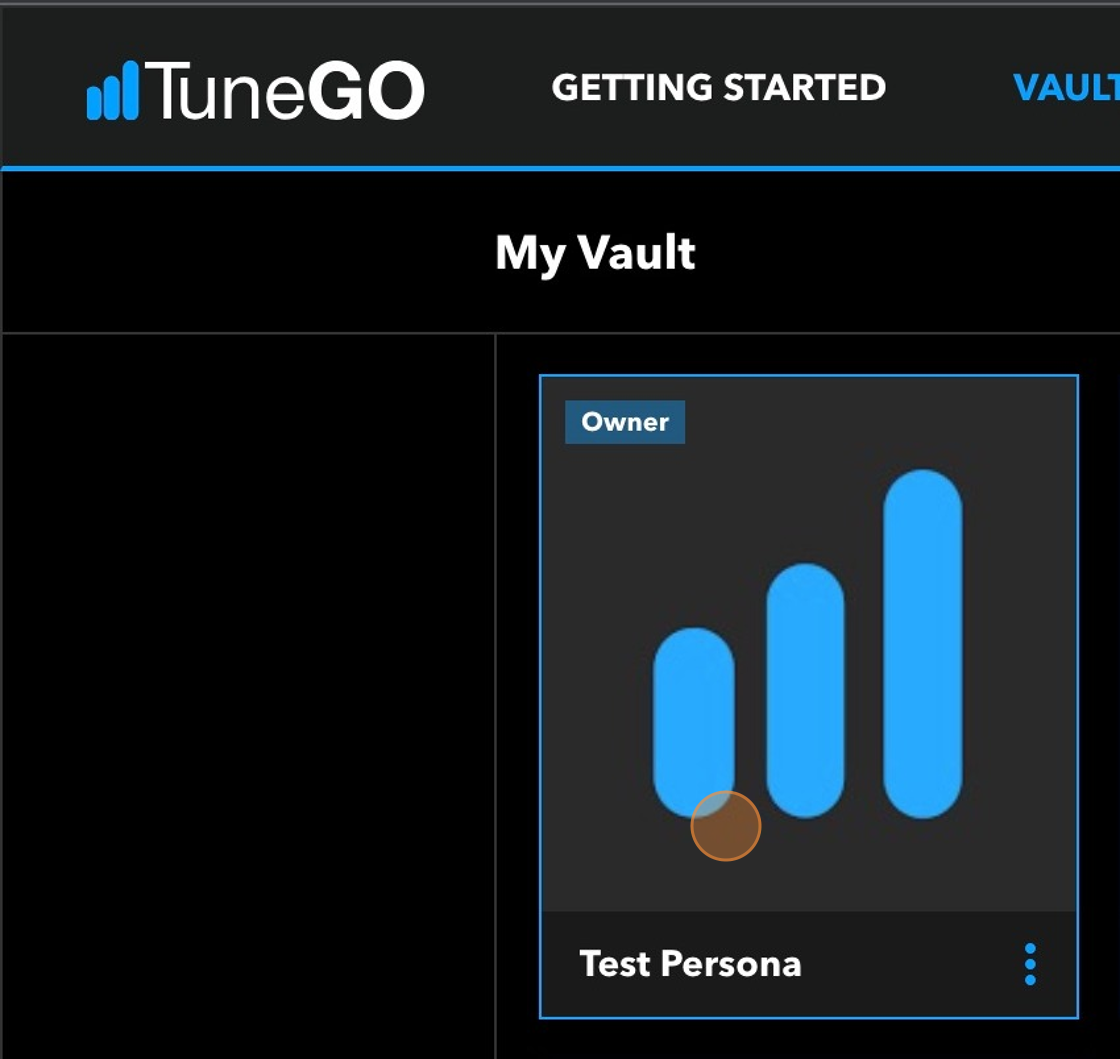
1. Navigate to “Vault” and click on your persona to begin
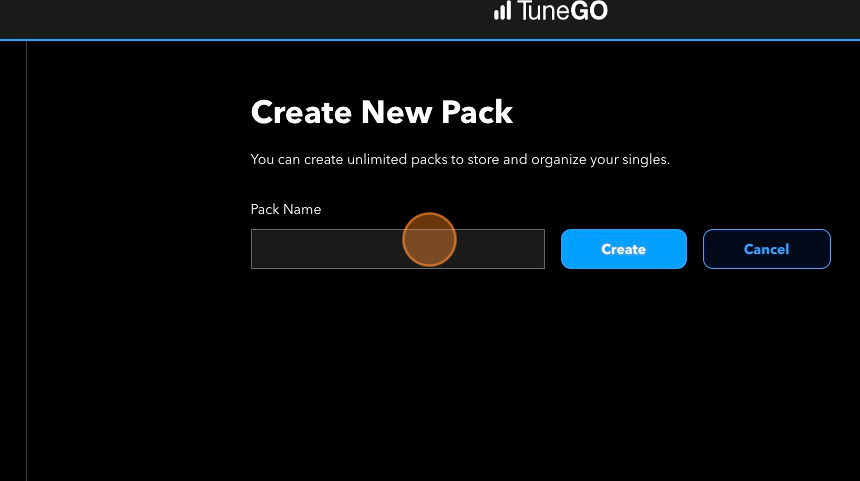
2. Click “New Pack”, name your pack, and click “Create” to proceed.
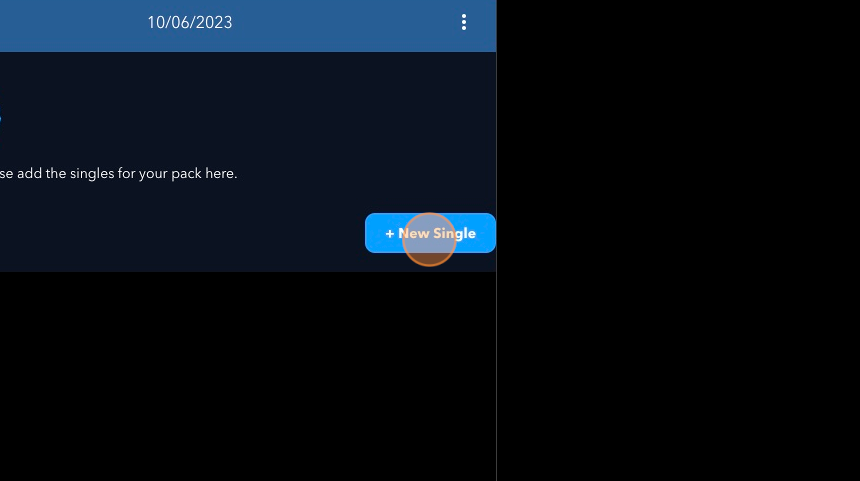
3. Click “New Single” and select the single you’d like to add to your pack. Name the single that will be part of the pack and click “Add” to add it to the pack.
4. Click the 3 dots on the right side and select “Add New Single to Pack” to add the next single. Name the new single and repeat the process until you’ve achieved the desired number of singles you want in your pack.
Note: You can upload as many as you would like.

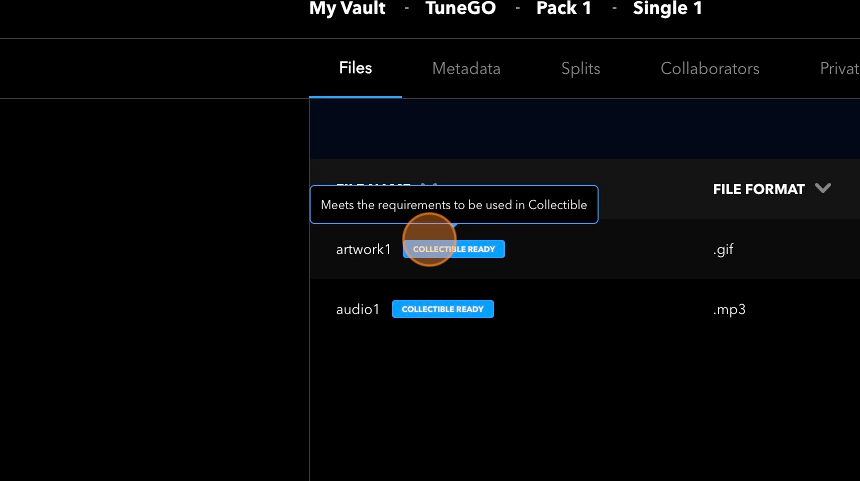
5. Upload your files by dragging the audio and artwork files into the page. If you’ve met the appropriate file type/size (see below), the “Collectible Ready” button will display in confirmation.
*Artwork may only contain text that is artist or album name. It must be a quality image with no blurriness or pixelation. It may not contain any logos. Artwork must be JPG or PNG format with a 10Mb maximum file size, or an animated GIF with a 25Mb maximum file size. Artwork must be presented in a 1:1 aspect ratio with a minimum
*Audio files must be WAV or MP3 format with a bit rate of 320kbps and no larger than 15Mb in size.
6. Once the assets for the first pack single have been uploaded, repeat the process for all additional tracks you would like to include in your pack.
For hands-on help with this and future drops, be sure to add TuneGO as a collaborator by following these steps here.
Additional questions or concerns? Contact creativeservices@tunego.com.